
Many photographers will recognize this situation. You’ve just done a great photo shoot and your SD card is full of shots. Now it’s time for the second part of the photo production. So that the post-processing is not unnecessarily drawn out in your case, I would like to explain my approach in this post and show you my workflow for very fast image selection.
It’s important to mention that I choose this approach mainly when I shoot free projects, where I am completely independent in the image selection of the final images. For photo productions where the client has a very precise idea of the final image result, this workflow often works completely differently.
An incredible 800 to 3,000 images are created on my shoots per day. To avoid getting lost in this confusing flood of images in post-production, it is crucial to develop an efficient workflow when dealing with these shots. This concerns the complete process between the creation of the image and the final retouched result. An important aspect of this process is the selection of the images to be retouched. A good workflow in image selection can save you a lot of time and money.


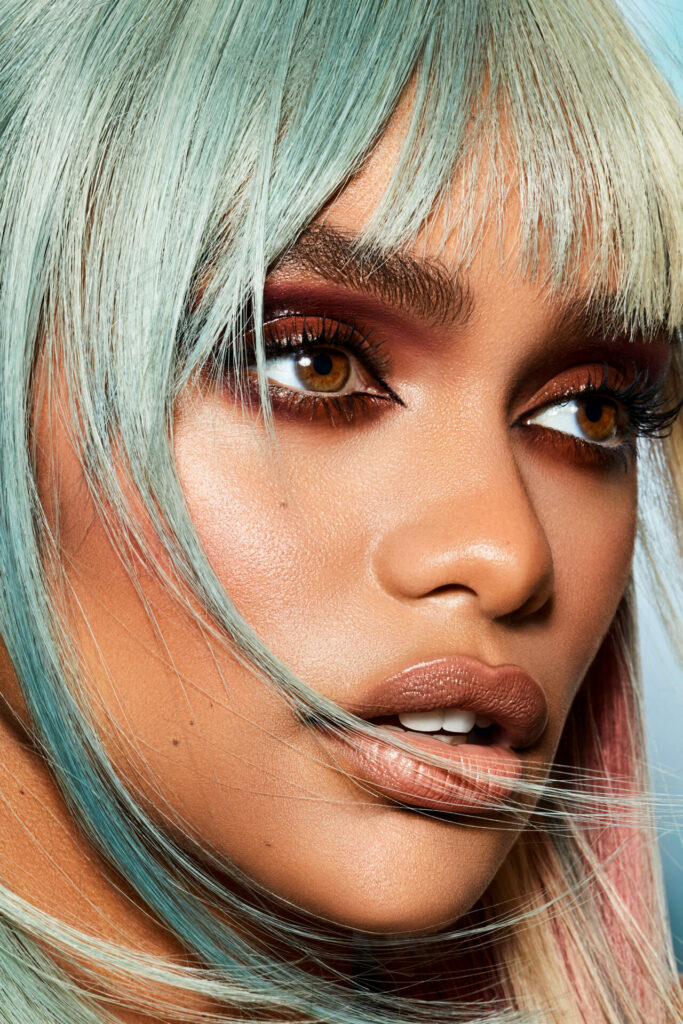
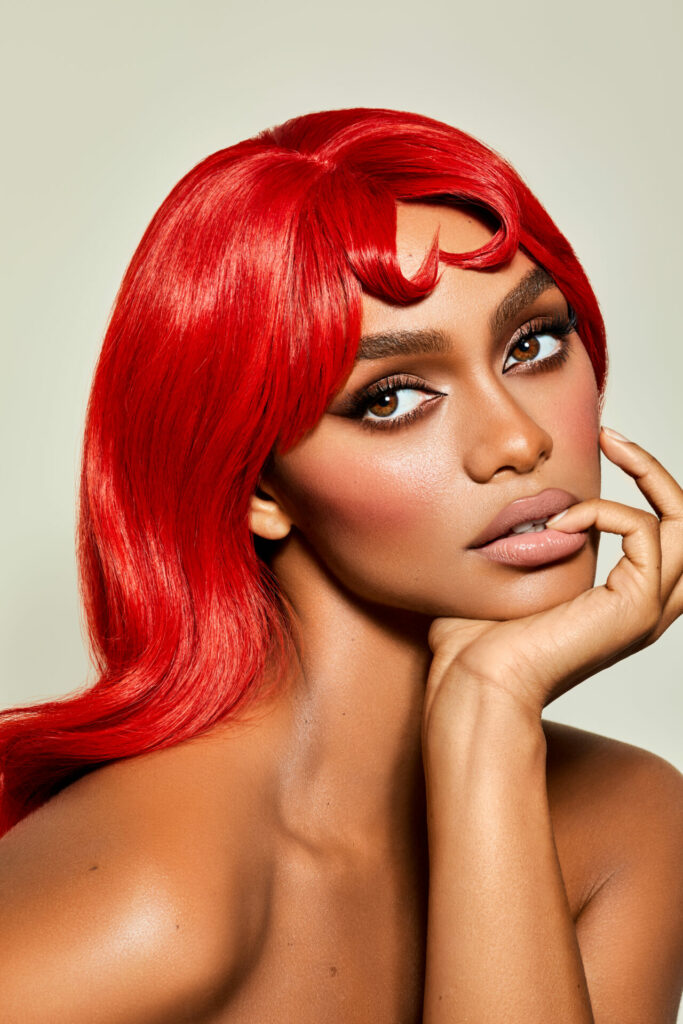
In the sample images, I show you how different the results from one day of shooting can be with good image selection. I took all the pictures with one of my favorite SIGMA lenses: the Sigma AF 70mm F2.8 DG Macro Art lens. It is one of my absolute must-have lenses for beauty photography due to its utility. I can do both my portraits and close-ups with it without having to change lenses between shots.
I shoot “into” Capture One directly via the Tethershoot feature. Capture One is an image selection and handling software that also includes a raw converter and already includes many adjustment and editing options. Tethershooting is always especially important to me on my shoots, because the model, the make-up artist, and the client can directly see and judge the outcome of the shoot. Among other things, Capture One also includes a rating function that lets you assign a rating between one and five stars to images (similar to Lightroom). This is very well suited for rating images. That is the system I use to rate my photos:

1 star
In the first step, I go through all the pictures once. I only pay attention to the cropping and the shapes or the poses of the model. If a picture is cropped too much, if I don’t like the composition, or if the model has an inappropriate expression, the picture is eliminated. All other pictures that I like at first sight will go to the next selection round and will be rated with 1 star. Generally, I prefer to take more pictures rather than fewer through to the next selection. In the first step, I superficially skim the images to reduce the volume of photos. Most of the time, after the first step, I will have marked around 1/3 of all the images with one star.
2 stars
In the next step, I take a little more time. Here, I pay more attention to the model’s expressions and check the sharpness. About half of all images with one star also get a second one. These qualify for the shortlist.
3 stars
Depending on how many sets I have shot, I compare similar images here. For example, I display all the frontal portraits from the first look side by side. This way I can see the differences in their direct comparison. I then select one or two favorites per set and per pose, so that I have the best images of each pose in the third selection round.
4 stars
Here, I compare which pose highlights the look the most. I also make sure that there is always a balanced selection between portraits and closeups so that I have enough choices from one look. That way I get enough variety in my results. I usually end up choosing only about one to three images per look. These have to be the best in my opinion and should not be too similar.

5 stars
For the 5 star selection, I display all the images with four stars next to each other. I make sure that a maximum of three images per look remain. If there are more, I’ll sort again and downgrade the weakest images to four stars. It is important to me to have different poses for each look. In addition, the portraits should have different expressions. Each look and also the model’s portfolio should be presented differently and have a varied effect.
The described evaluation procedure is a very simple method, with which every photographer can filter out the best shots in a short time. A clearly structured workflow saves an enormous amount of time, which is best used directly for other exciting projects.